


Top 5 Tile Installation Mistakes and How to Avoid Them
Tile installation can be a rewarding DIY project or a professional endeavor, but it’s not without its challenges. Even seasoned installers can run into common mistakes that affect the overall appearance, durability, and longevity of the installation. Whether you're laying tiles for the first time or an experienced contractor, understanding the most frequent errors—and how to avoid them—can make the difference between a flawless floor or wall and a costly redo.
In this blog, we’ll cover the top 5 tile installation mistakes and provide actionable tips on how to avoid them, ensuring that your project is successful and long-lasting.
1. Improper Surface Preparation
One of the most common installation mistakes is failing to properly prepare the surface before laying the tiles. This step is crucial for ensuring a smooth and level foundation for your tiles. If the surface is uneven, dirty, or damaged, it can lead to issues such as tiles not bonding correctly, grout cracks, or tiles shifting over time.
How to Avoid It:
- Clean the surface thoroughly to remove any dust, dirt, or grease.
- If you’re installing on a concrete floor, check for cracks or damage and repair them.
- Use a leveling compound on uneven floors or walls to create a smooth, even surface.
- For wall installations, ensure that the wall is plumb and dry before applying adhesive.
Proper surface preparation is essential for achieving a professional-looking finish and avoiding costly repairs in the future.
2. Incorrect Adhesive Choice
Choosing the wrong adhesive for your specific tiles and surface is a major mistake that can lead to premature tile failure. Different tiles—such as porcelain, ceramic, natural stone, and glass—require different types of adhesives, each with specific bonding properties.
How to Avoid It:
- Always read the manufacturer’s instructions for the adhesive and ensure it’s suitable for your tile type and the installation surface.
- For larger, heavier tiles like porcelain or stone, opt for a stronger adhesive such as thin-set mortar or a specialized adhesive designed for heavy-duty use.
- Use a flexible adhesive for high-moisture areas (like bathrooms and kitchens) to accommodate any movement in the tiles.
- Make sure to mix the adhesive to the proper consistency, as too thick or too thin a mixture can affect the bond.
Choosing the right adhesive ensures that your tiles stay securely in place and that your installation lasts for years to come.
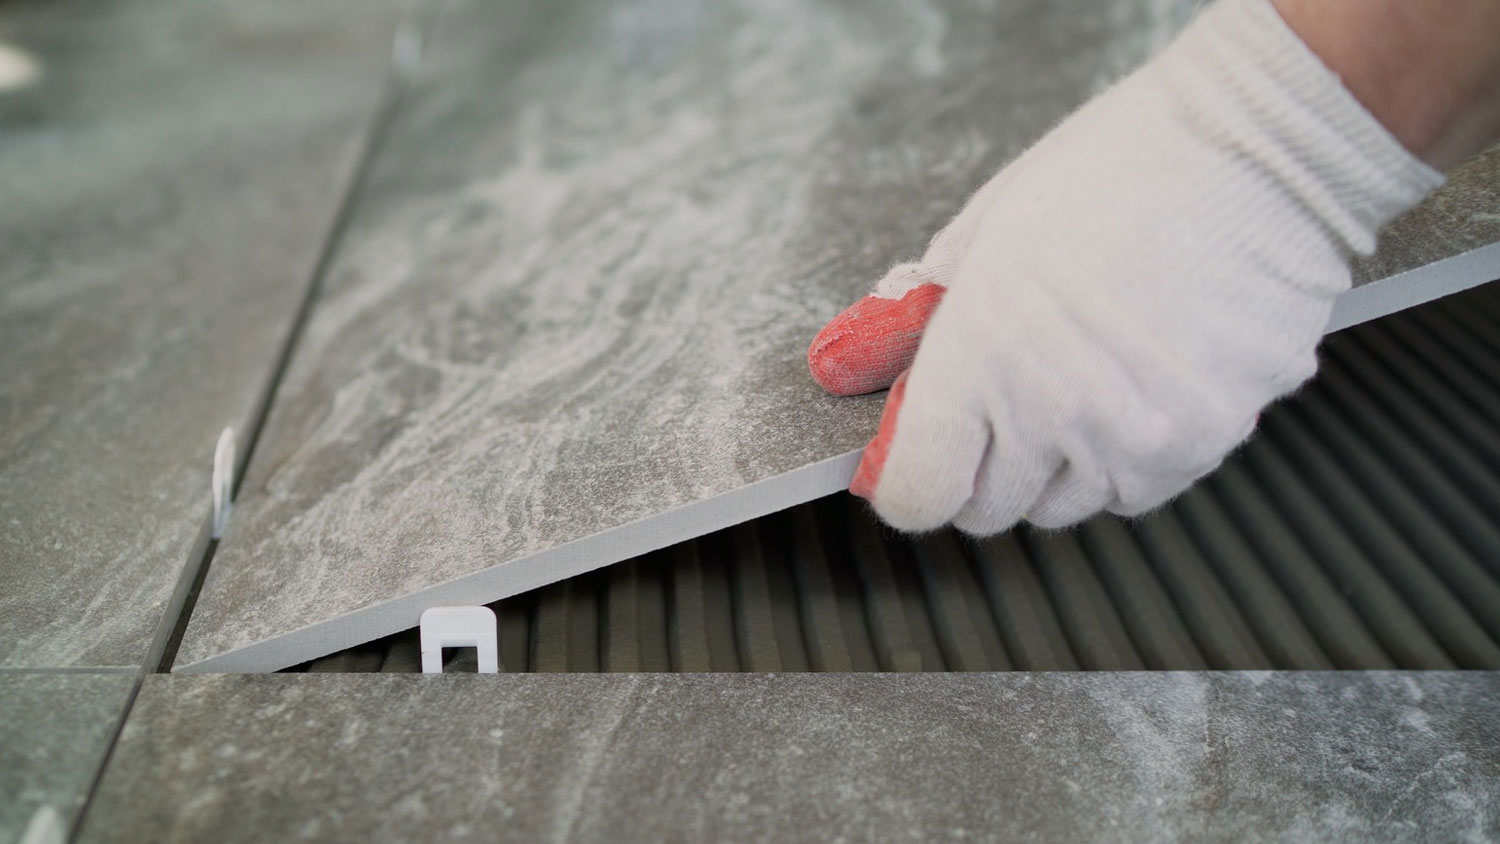
3. Skipping Expansion Joints
Expansion joints are vital in preventing tiles from cracking or shifting due to temperature changes and the natural movement of the surface. Many DIY installers and even some professionals overlook these joints, leading to problems such as cracked tiles or grout lines.
How to Avoid It:
- Always include expansion joints in areas where movement is likely (such as around the perimeter of the floor or around fixtures like bathtubs).
- Use a flexible grout or caulk in these joints to allow for expansion and contraction without causing damage to the tiles.
- Follow the guidelines for joint width and spacing recommended by tile and adhesive manufacturers to ensure your tiles can move without causing damage.
By including expansion joints, you’ll give your tile installation the flexibility it needs to adapt to environmental changes, preventing cracking and shifting.
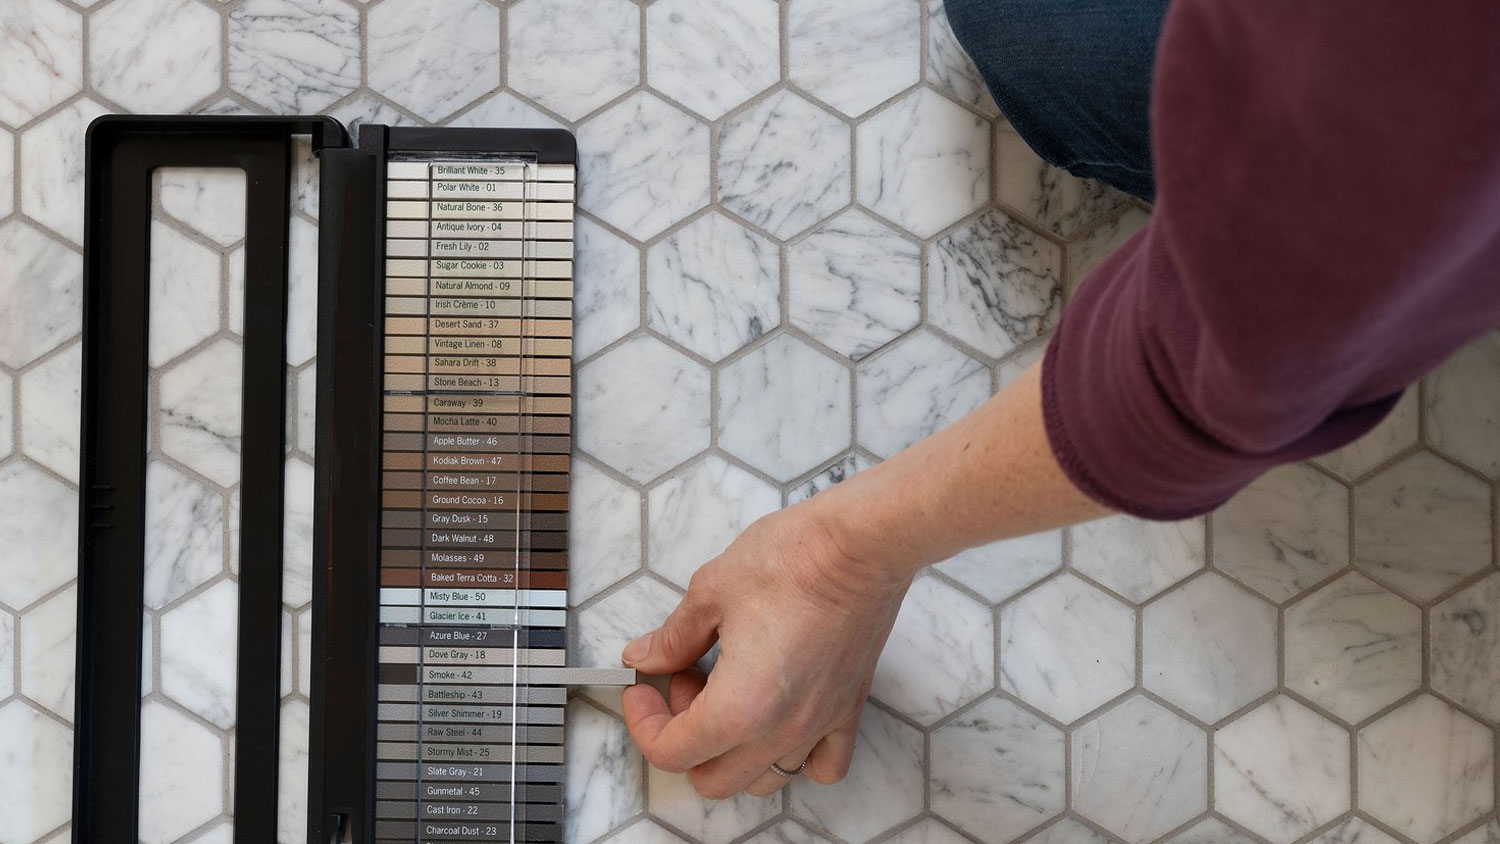
4. Incorrect Grouting Techniques
Grouting is the finishing touch that holds the tiles in place and gives the installation its final appearance. However, incorrect grouting—whether it’s uneven application, improper grout consistency, or neglecting to clean excess grout—can ruin your entire project.
How to Avoid It:
- Mix the grout to the recommended consistency (not too thick or runny).
- Use a rubber float to apply the grout evenly, pressing it into the joints to fill any gaps.
- Wipe off excess grout immediately using a damp sponge to prevent it from hardening on the tile surface.
- After grouting, allow sufficient drying time and use a grout sealer to protect it from stains and moisture.
By paying attention to the details during the grouting process, you’ll achieve a smooth, consistent finish that enhances the beauty and durability of your tile installation.
5. Not Allowing Proper Drying Time
One of the biggest mistakes that tile installers make is rushing the drying process. This applies to both the adhesive and grout. Not allowing enough time for the adhesive to fully set before walking on the tiles or grouting too soon can lead to the tiles shifting, grouting cracking, or bonding failures.
How to Avoid It:
- Allow the adhesive to cure for the recommended time before walking on or grouting the tiles. This usually takes around 24 hours, but always check the product instructions for specific guidance.
- After grouting, allow the grout to set for at least 24 hours before sealing or cleaning the surface.
- Avoid placing heavy furniture or items on the tiled surface until the adhesive and grout are fully dry to ensure proper bonding.
Giving your adhesive and grout the proper time to dry ensures that your tiles stay in place and the grout cures properly, leading to a more durable and beautiful installation.
Tile installation requires precision and attention to detail, but by avoiding these common mistakes, you can ensure a flawless, long-lasting finish. Remember to properly prepare your surfaces, choose the right adhesive, include expansion joints, grout correctly, and allow sufficient drying time. By following these tips, you’ll achieve a professional-quality result that you can enjoy for years to come.
Whether you're a DIY enthusiast or a seasoned professional, being aware of these mistakes and knowing how to avoid them will help you achieve the perfect tile installation every time. With the right preparation and techniques, your tiles will remain beautiful and functional for many years ahead.